Chronos keeper of time
Intro
My wife likes clocks :) So after we moved into our new apartment she asked me if I could order a big clock to have it on the wall in the living room. After searching for a bit I could not find anything interesting so I had the idea to design my own.
3 months later and some revisions, tadaaa:

Chronos keeper of time
Design
The design was done using FreeCAD https://www.freecadweb.org/.
The idea behind the design was to try to emulate an old style 7 segment based watch but huge!
A first objective was to not have anything on the back of the watch so the white wall could be seen.
A second was to find a way to illuminate the individual segments in such a way that those would be visible in broad daylight but still have the individual leds somewhat diffused.
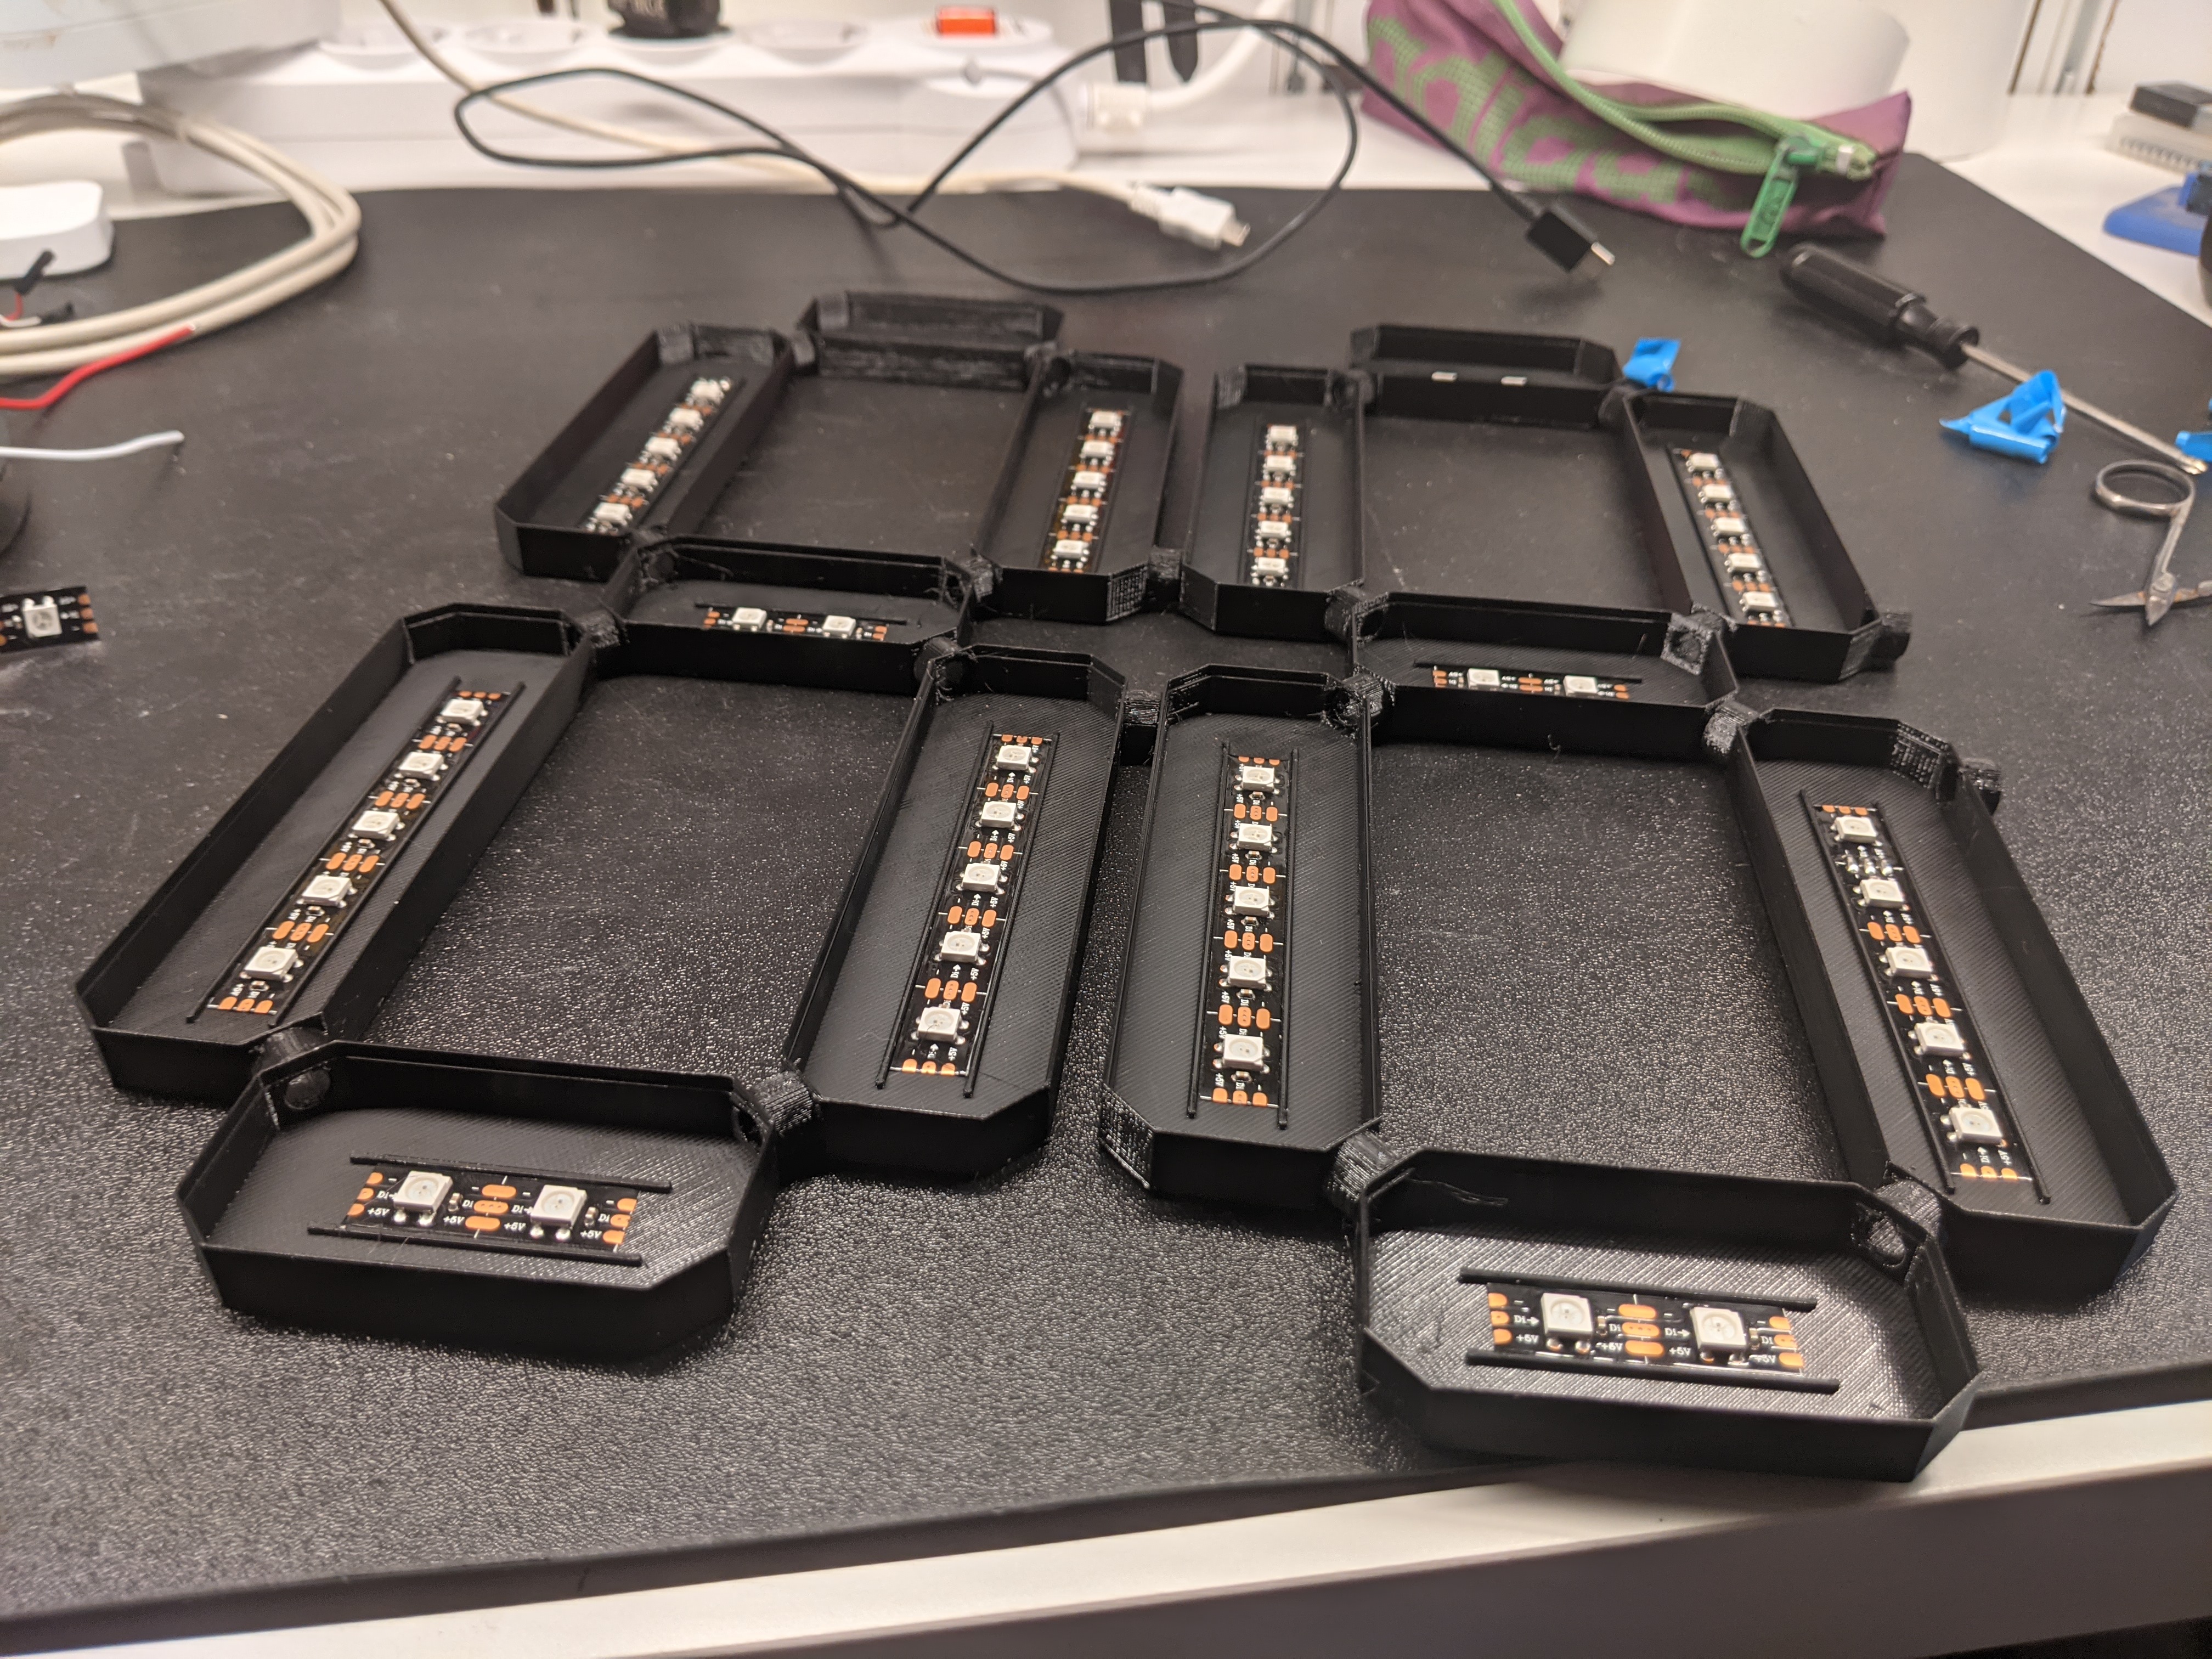
Having all this in mind, I have started iterating over the design and printing test parts.

Pile of parts ...
In the end I came up with this:

Final design
Tha above is a partial assembly I did to be able to check the alignment of the parts, as you can see it's modular so in theory you could scale it to as many digits as needed :)
All the parts are available here: https://github.com/TinHead/chronos/tree/main/3d-design in FreeCAD format.
There are 2 combinations of parts I used to get a digit depending on the position:
- Side digit as the first or last digit of the clock
- Center digit as the ones meeting the dots in the middle
The middle dots are the connection point for the whole thing, also this is where the wiring starts and ends.
I'm listing the required parts below.
Side digit part list
Backside parts:
- 2 of https://github.com/TinHead/chronos/blob/main/3d-design/long_digit_side.FCStd

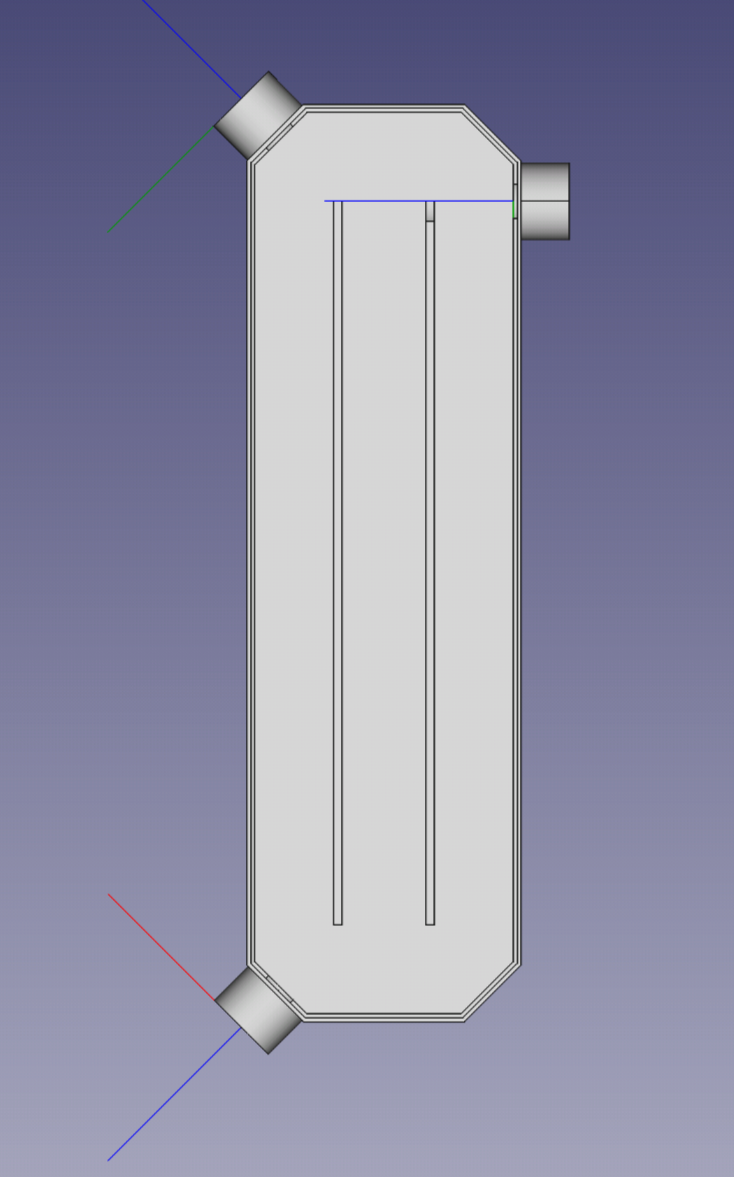
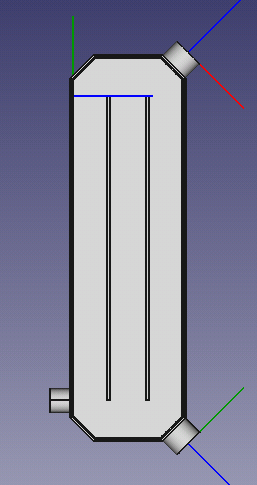
long_digit_side
- 2 of https://github.com/TinHead/chronos/blob/main/3d-design/short_digit_side.FCStd

short_digit_side
- 1 of https://github.com/TinHead/chronos/blob/main/3d-design/long_digit_side_mid_up.FCStd

long_digit_mid_up
- 1 of https://github.com/TinHead/chronos/blob/main/3d-design/long_digit_side_mid_down.FCStd

long_digit_mid_down
- 1 of https://github.com/TinHead/chronos/blob/main/3d-design/short_digit_middle.FCStd
Front diffusers:

short_digit_middle
- 4 of https://github.com/TinHead/chronos/blob/main/3d-design/long_digit_diffusor.FCStd

long_diffuser
- 3 of https://github.com/TinHead/chronos/blob/main/3d-design/short_digit_diffusor.FCStd
All the above should give you a complete side digit :)

short_diffuser
Center digit part list
Backside:
- 1 of https://github.com/TinHead/chronos/blob/main/3d-design/long_digit_side_mid_up.FCStd

long_digit_mid_up
- 1 of https://github.com/TinHead/chronos/blob/main/3d-design/long_digit_side_mid_down.FCStd

long_digit_mid_down
- 1 of https://github.com/TinHead/chronos/blob/main/3d-design/long_digit_side_mid_down_small.FCStd

short_digit_side
- 1 of https://github.com/TinHead/chronos/blob/main/3d-design/long_digit_side_mid_up_small.FCStd

short_digit_side
- 2 of https://github.com/TinHead/chronos/blob/main/3d-design/short_digit_side.FCStd

short_digit_side
- 1 of https://github.com/TinHead/chronos/blob/main/3d-design/short_digit_middle.FCStd

short_digit_middle
Front diffusers:
- 4 of https://github.com/TinHead/chronos/blob/main/3d-design/long_digit_diffusor.FCStd

long_diffuser
- 3 of https://github.com/TinHead/chronos/blob/main/3d-design/short_digit_diffusor.FCStd

short_diffuser
Middle dots
Backside:
- 1 of https://github.com/TinHead/chronos/blob/main/3d-design/dots_digit_up.FCStd

dot_up
- 1 of https://github.com/TinHead/chronos/blob/main/3d-design/dots_digit_down.FCStd
Diffusers:

dot_down
- 2 of https://github.com/TinHead/chronos/blob/main/3d-design/dot_digit_diffusor.FCStd

dot_diff
Printing the parts
Backside
I used Black Prusa PETG for the back parts, with standard settings from PrusaSlicer. The material should not mater too much.
Make sure to enable "supports on build plate only" to get the smaller struts to print properly, for example for this parthttps://github.com/TinHead/chronos/blob/main/3d-design/long_digit_side_mid_down_small.FCStd.
Difussers
I have tried several materials to get the diffusers to work nicely but the best results I have got with https://www.prusa3d.com/product/prusament-pvb-smoky-black-transparent-500g/
The print settings were 2 bottom layers, 2 top layers, 15 percent infill, rectilinear internal.
I guess this is up to individual preferences so YMMV.
Electronics
Brains
I used an esp32 based board https://www.optimusdigital.ro/ro/wireless-altele/5834-placa-de-dezvoltare-wireless-cu-microcontroller-esp32.html?search_query=0104110000044549&results=1.
In order to be able to power the leds I have modified an usb charging cable to get the 5V line to the leds while still powering the esp32.
Leds
I used WS2812B led strip with 60 leds/m density. For the long digits I used 5 leds, for the short I used 2 leds, for the dots 1 led.
Wiring
I have designed the watch while trying to keep in mind the wiring I would need to do to connect the strips, of course it wasn't perfect :D
Adding leds:

Half of Leds
My wiring:

dot_up
All you need to remember is that all strips need to be connected in series and in proper order.
Software
Initially I wanted to write the software in C using the beautiful FastLED library (https://fastled.io/), but I did not have the time back then, so I have switched to Micropython to be able to quickly hack it together. The code is fairly straight forward you can find it here:
https://github.com/TinHead/chronos/tree/main/src-code